
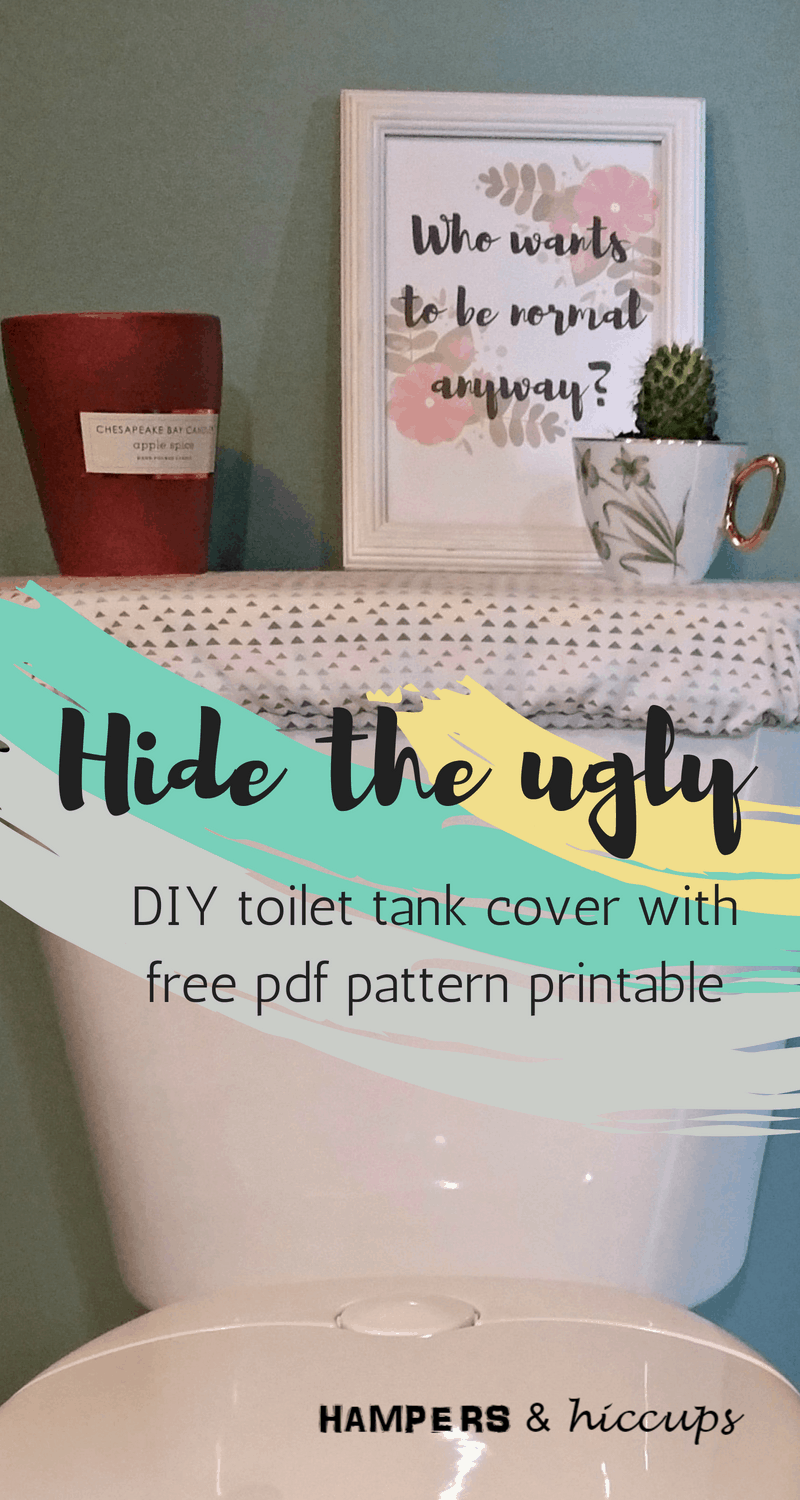
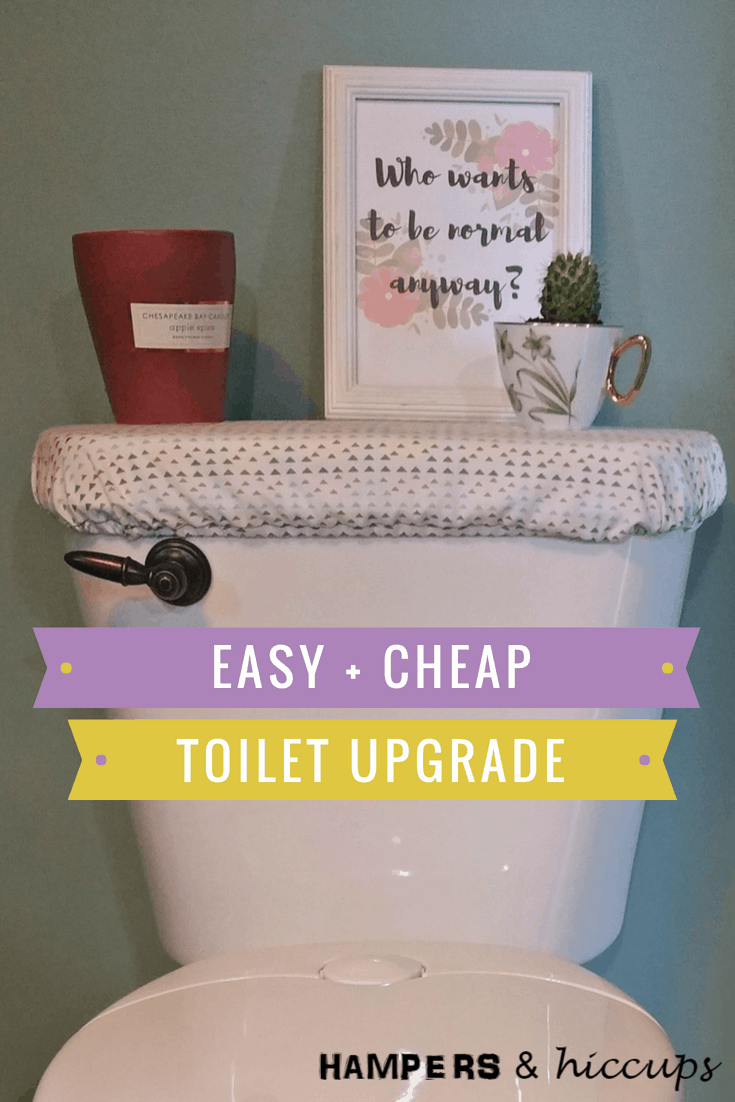

 I must admit – I'm really excited for this post. It's one I've been dreaming about for a year or so now. The idea came to me when I was envisioning our finished bathrooms. I wanted a way to make the toilet look less, well, toilet-y. I was on the hunt for a way to make my bathroom look pretty. I created an easy DIY toilet tank upgrade.
I came up with the idea of the toilet tank cover! It took me months to actually get around to making it. Once I got to it, it only took me a few minutes to whip up. And the results speak for themselves. It's so much fun and adds a whole new element to my bathroom.

The reason I wanted something on the tank in the first place is because I hated cleaning it! There always seemed to be dust or hair left behind after it was wiped. I started out with just a simple place mat on top, but, as you can see, it wasn't appealing.
This easy DIY toilet tank upgrade cover I created is perfect:
- Easily washable
- Cute + fun
- Quick and cheap to make
- Unique design element
And, of course, I have to share it with you! I've even made a quick little pattern for you to download and print out if you subscribe to my newsletter. You don't need the pattern, however, to follow the simple tutorial! Just enter your name and email for the simple pattern for the easy DIY toilet tank upgrade cover.
[convertkit form=5217836]
Quick Navigation
How to add instant texture and design to your bathroom
What you'll need to transform your bathroom
- Piece of cotton fabric 26″x15″
- Pattern
- Scissors, measuring tape, pins, chalk, thread, sewing machine, iron
- 25″ of 1/4″ or cord elastic
Step one to make my bathroom pretty with an easy DIY toilet tank upgrade cover
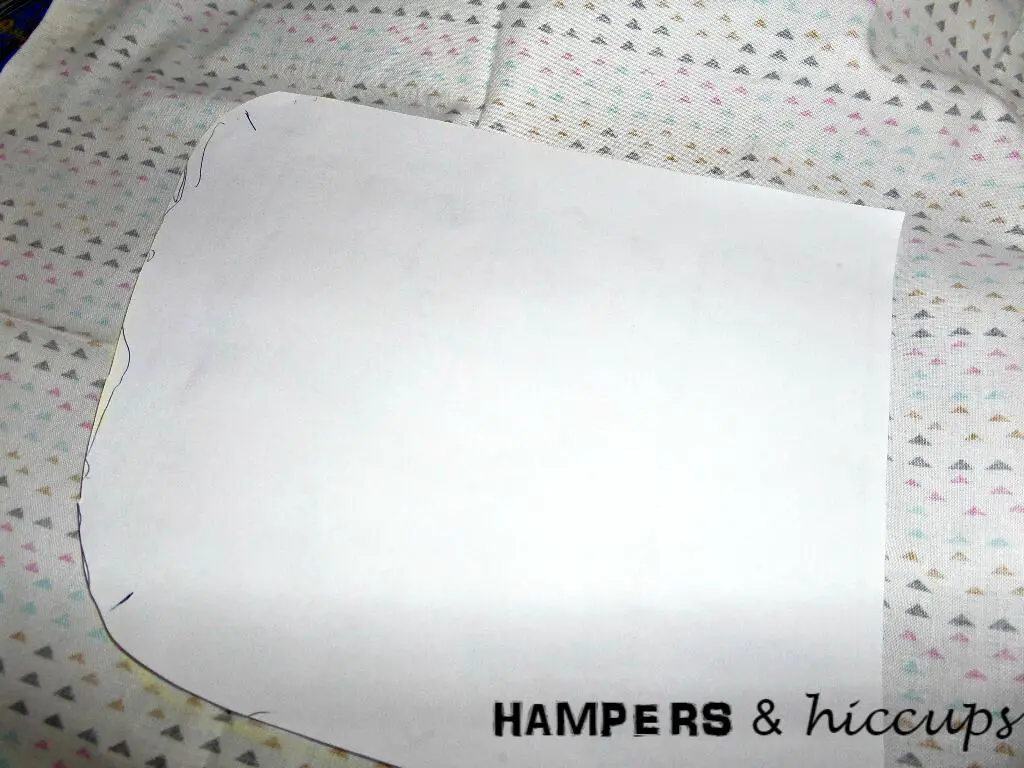
Cut out the pattern OR measure your tank and make your own pattern. The pattern I created is for a standard toilet. The dimensions are 19.5″long at the back, 15″long at the front, 7.5″wide from front to back (deep). The height of the lid is 2″.
Lay it out on the back side of your folded fabric and trace with a piece of chalk or a pencil. Keep in mind the wider part will be the back, in case your print is directional.
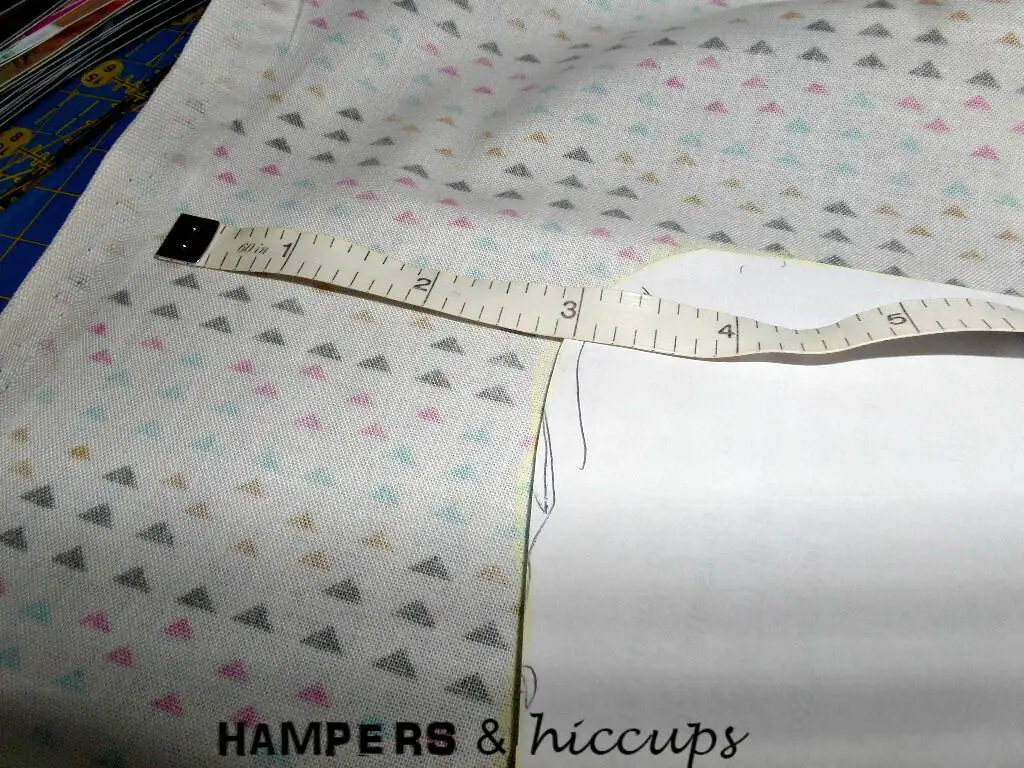
*Be sure to leave room around the trace for the additional 3″ marks.
*Related: Vintage Apron Sewing Pattern + Tutorial (Why I wear an apron)
Step 2
Measure 3″ away from your traced line all the way around. The extra 3″ is to allow for the height, folding, ironing + elastic channel.
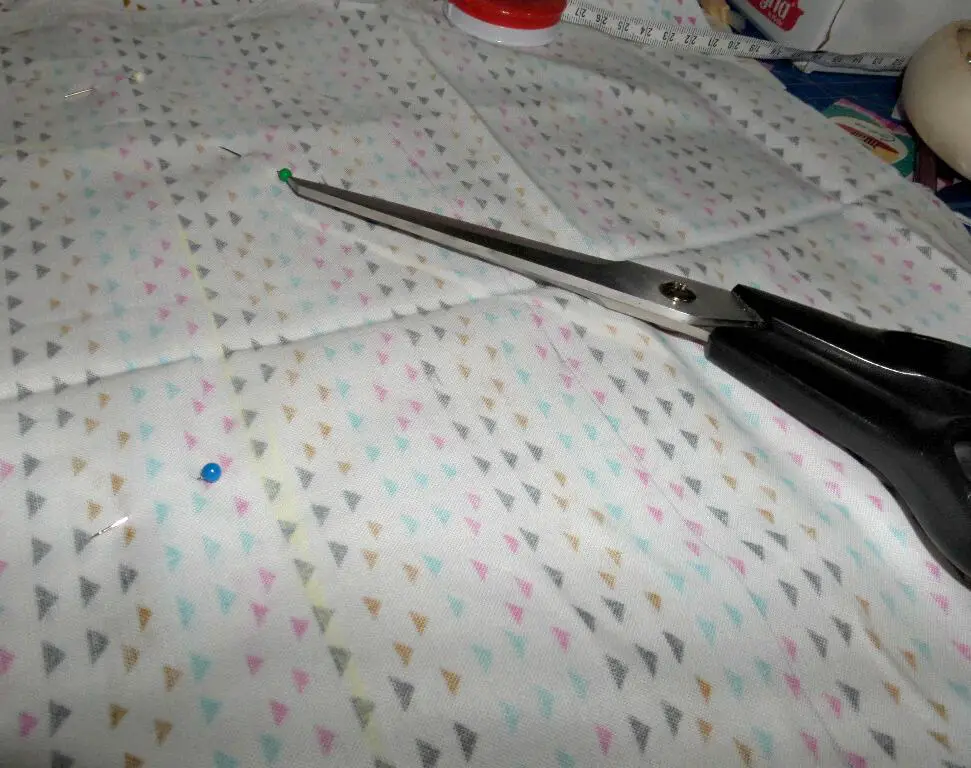
Pin the two layers together and cut around the outermost line (the new line you just made).
Step 3 for your inexpensive DIY toilet tank cover
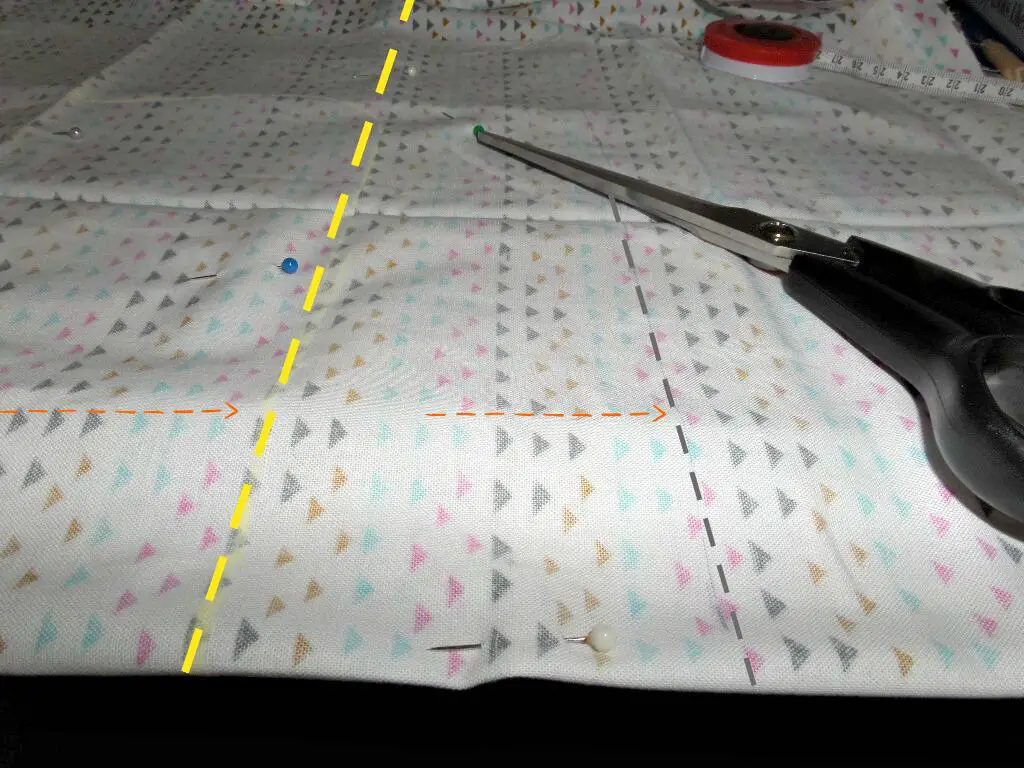
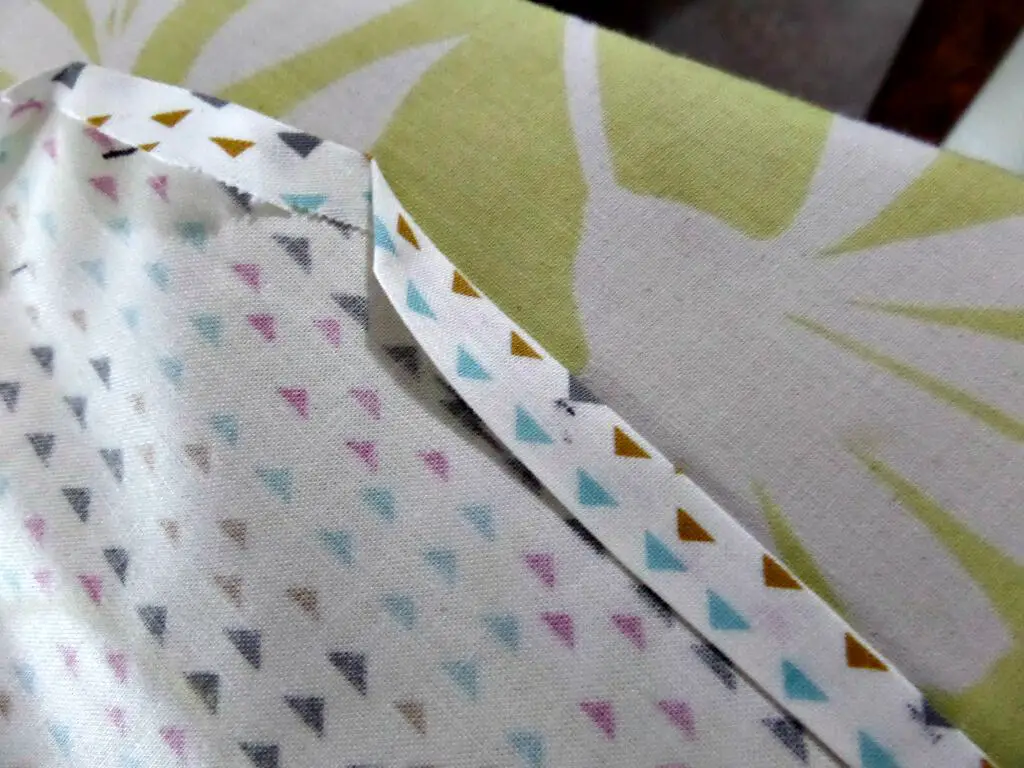
Now that you have your cut out piece, unpin and unfold the whole thing. The side without marks will need them added – measure 3″ in from the edge and mark.

Next, make marks all the way around, 1″ from the edge. This will be your second iron line. Make marks half way between this line and the edge (1/2″ from edge). This will be your first iron line.
Step 4 – Do not skip
The most fun you'll have – ironing. HA. I loathe ironing and always try to skip it. Trust me on this one, you don't want to skip this step.
Fold the edge in to the first mark (1/2″) and iron all the way around. Don't worry about the corners, just do straight folds as best you can.

Then repeat the folding and ironing up to the next line. You should be left with a double fold, hiding the raw edges. You should have 2″ from the mark of your folds to the innermost original trace line.
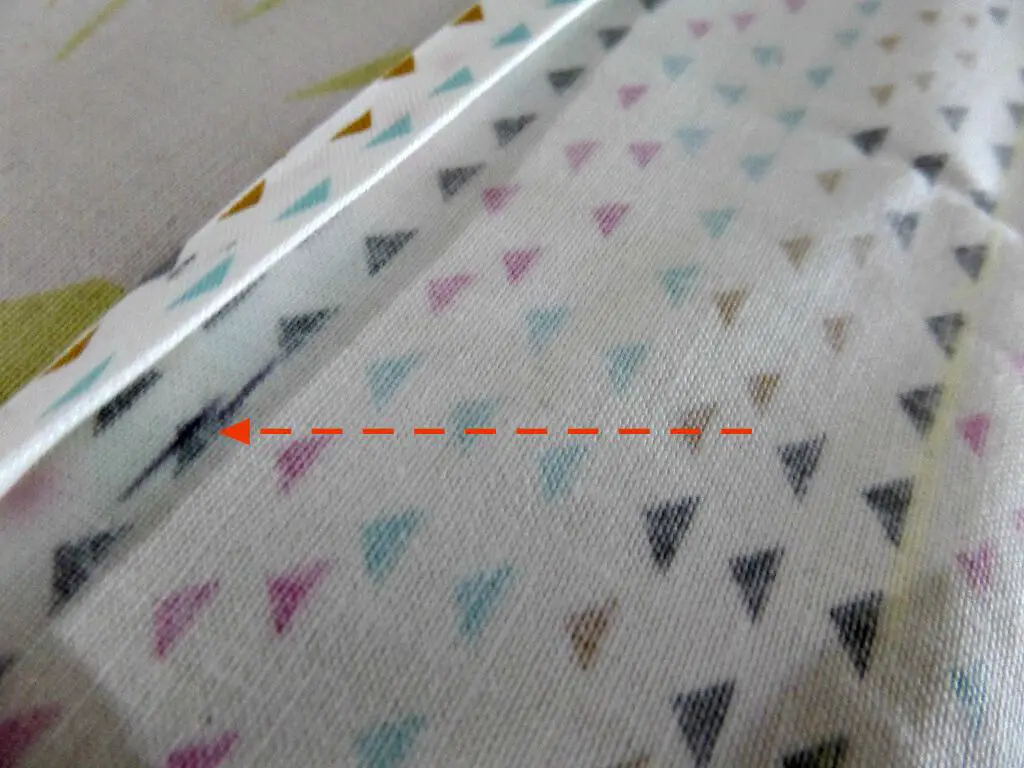
Step 5 – Sew it up
Now do a quick stitch all the way around the fold, getting as close as you can to the “hemmed” edge so you have enough room for elastic. Don't worry about the corners, you want a gap left for the elastic anyway.

Related: Easy DIY Nursing Pads
Step 6
Cut a piece of elastic at 25″ or so. You can decide on your own toilet how long the elastic should be. Mine measured 46″ around, so I went half-length plus a little more.
*Be sure to measure under the lid when you're measuring around for elastic. That's where it will sit once it's on.
Feed your elastic all the way through and tie it off. I used cord elastic, but you could use any kind. If you're using a flat version you could even sew it, although I don't think it's necessary. A good knot will work well.

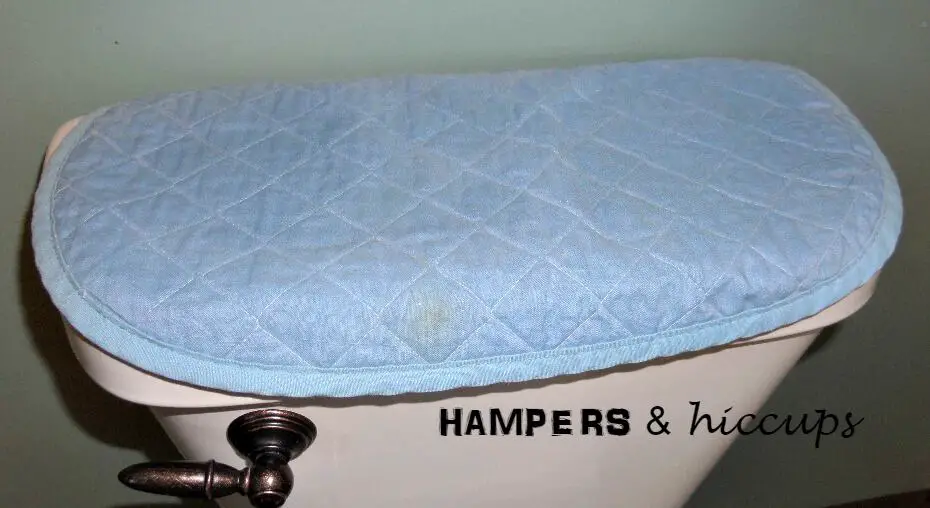
Straighten it all out and put it on your toilet tank! Style + admire your new look. Super quick and easy DIY toilet tank upgrade, right?!
![]()
Grab your free pattern here, if you haven't already.
[convertkit form=5217836]
Leave me a comment to let me know if it made your bathroom pretty! And don't forget to share with your friends and family! They'll all be asking about your new look, anyway.