
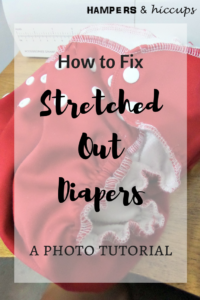
 As you know from this post and this post, we have always cloth diapered Sweet Girl. A HUGE portion of our stash is pre-loved. Anyone who has considered second (or third) hand cloth knows that there is the likelihood of having to replace diaper elastics, and maybe even some snaps or Velcro.
I'll be doing a cloth diaper series at some point. There is SO much information on the topic. But for now, I'm just going to outline how to replace elastics.
This tutorial will feature a serger method. I'll be working on a basic sewing machine method in the upcoming weeks. Stay tuned. Sign up for my newsletter to know when it comes out!
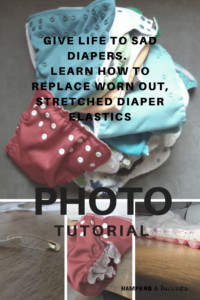
With these tutorials you'll be able to quickly and effectively replace the elastics in your diapers, making them good as new.
The fact is, over time washing and drying is really hard on elastic! Think of that old pair of your husband's underwear that gets stretched out and brittle. Same deal, except diapers get washed even more frequently!
Quick Navigation
Where to Begin
First, you're going to want to grab all the diapers you have that need fixing. Once you get caught up, you'll be able to replace diaper elastics as need be, but for now, you probably have to do a mass fix session (or 2 or 3) to get them all done.
Once you've determined which diapers need fixing you can gather your materials to replace diaper elastics. You'll need:
- Coordinating thread (or whatever you have on hand)
- Appropriately sized elastic – I like to use 1/4″
- Serger & Sewing Machine
- Scissors
- Seam Ripper (essential)
- Small Safety Pin
Step-by-Step Photo Tutorial to Replace Diaper Elastics
Here I'll give you the steps to replace diaper elastics. You'll be able to adjust certain procedures to your liking and diaper style as you get more comfortable with the process. This is the way I like to fix a stretched out diaper.
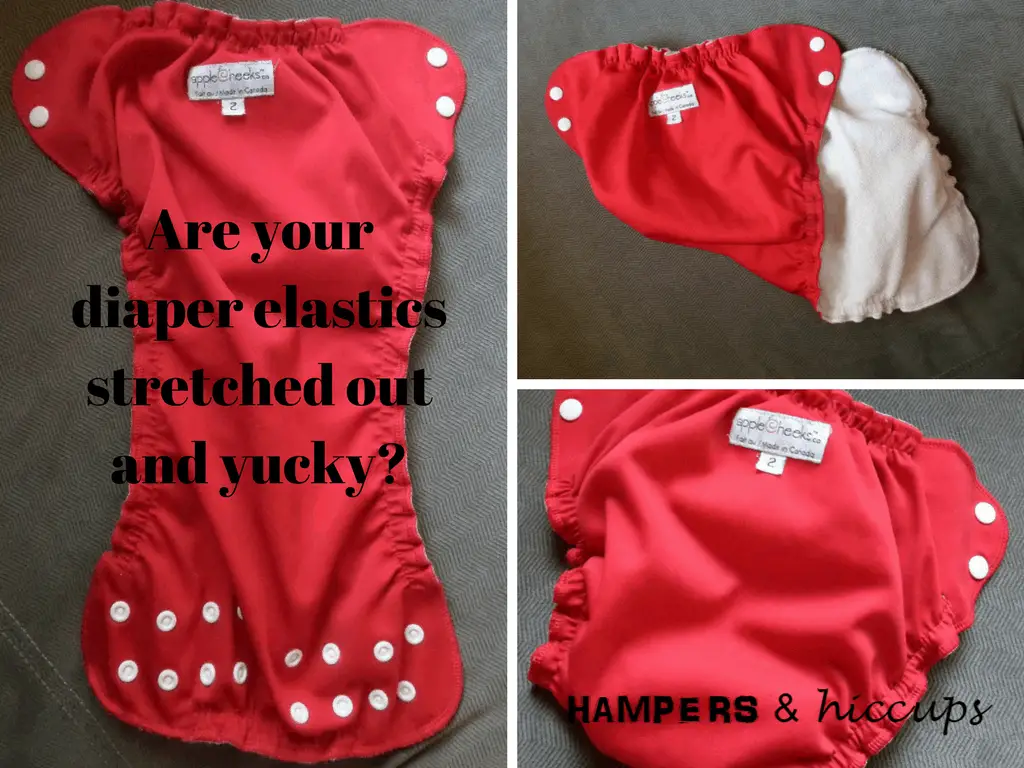
I'm showing this tutorial on an Apple Cheeks (size 2) pocket diaper. They have a serge all the way around the edge and an elastic on each side, front and back (total of 4). While serging is a great option for most diapers, you'll want to check a few things out before you decide which machine to use.
What to Look For When Deciding How to Replace Diaper Elastics
- Serged edge vs. sewn
- Elastic channel vs. sewn in
- Size of elastic channel
Step 1 – Seam Rip
First thing you need to do to replace diaper elastics is to get at the old elastic. Most diapers will have a channel (see photo) that the elastic is in, allowing easy replacement.
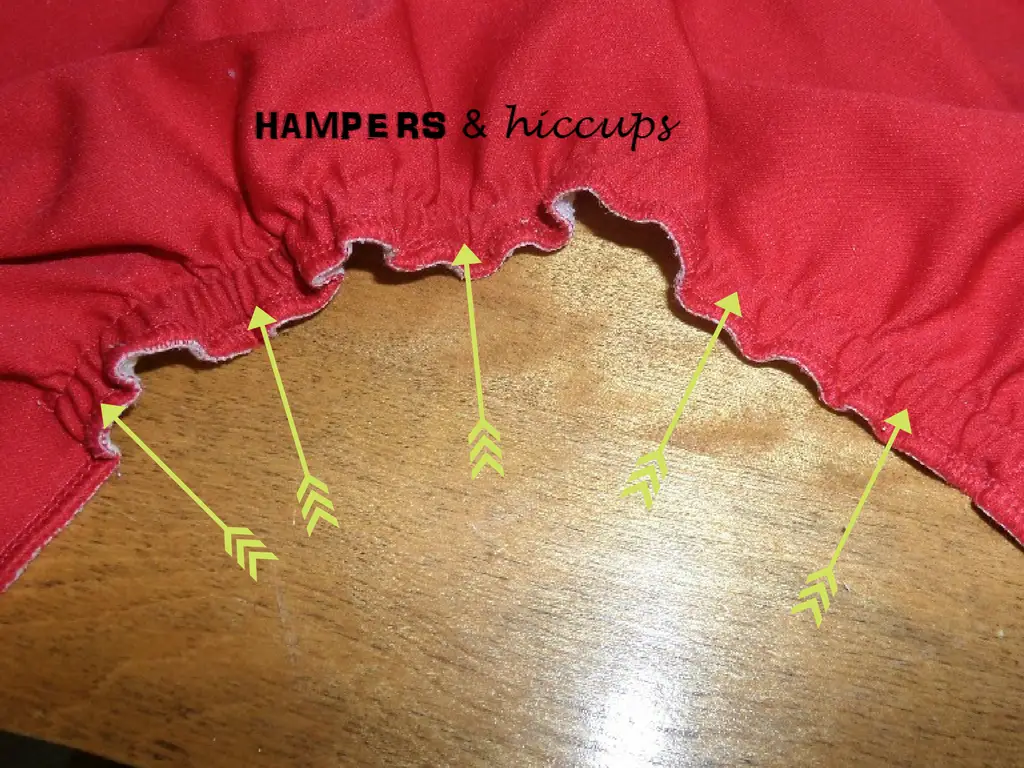
Take your seam ripper and rip a 1-2″ gap at each end of the channel. If the diaper has been serged this will take a little more time than a regular sewn stitch.

Option 2
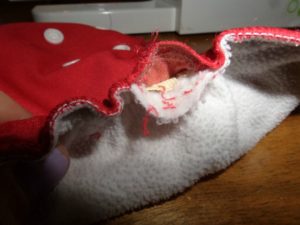
Alternatively, if the channel is too small to get a safety pin through, you can seam rip the entire channel. I'll outline both methods in this tutorial.
You'll see the entire yucky old elastic. Feel free to rip all the pieces out. Not necessary, though.
![]()
Step 2 – Replace Diaper Elastic
Cut your elastic to size. My general rule for elastic is to cut it a little more than half the length of the area it is to be inserted. On an Apple Cheeks size 2 pocket cover, I used 7″ pieces for the sides, 4″ for the back, and 2″+ for the front. If you're unsure, just leave a long piece and cut if off at the end.
![]()
Secure a safety pin to one end of the elastic and feed it through the channel using the gaps you've created. You'll need to maneuver around the old elastic in the channel, so it can get tricky. Be patient and careful. You don't want to bend the safety pin, or open it up in there. It could catch some material and then you'd have to pull it back out and start over.
![]()
![]()
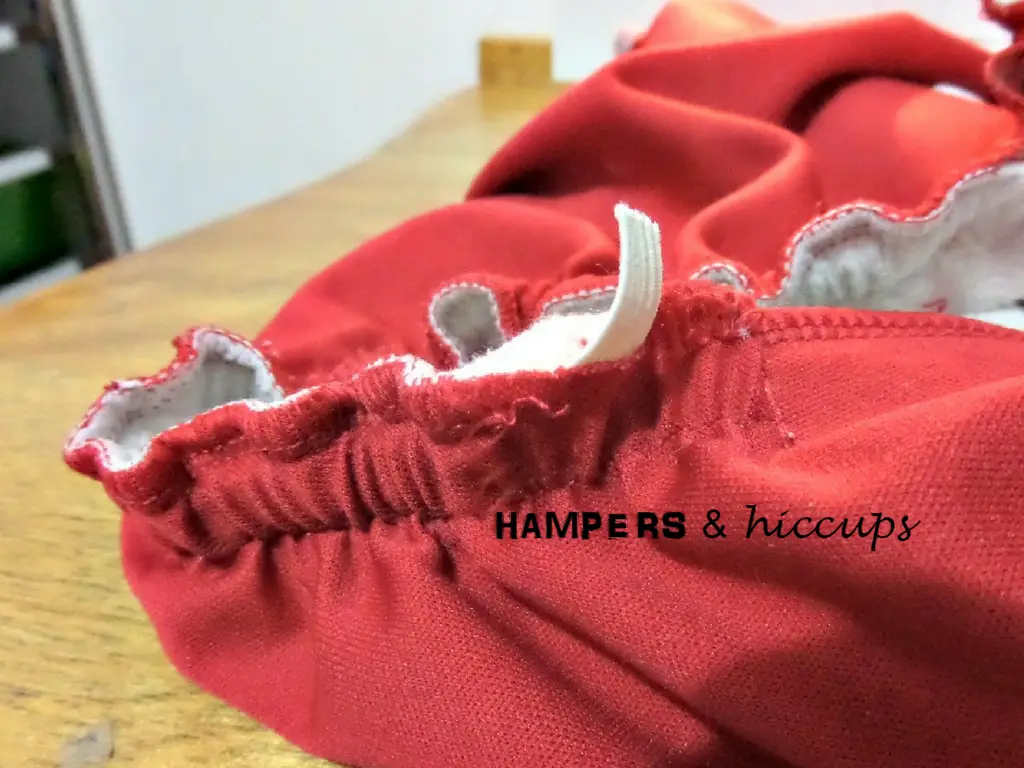
Option 2
If you decided to rip out the entire channel, you'll now want to take the new elastic and pin it in place. Start at each end, then the middle, then the rest. Make sure you stretch it out and get the desired “bunchiness”.
![]()
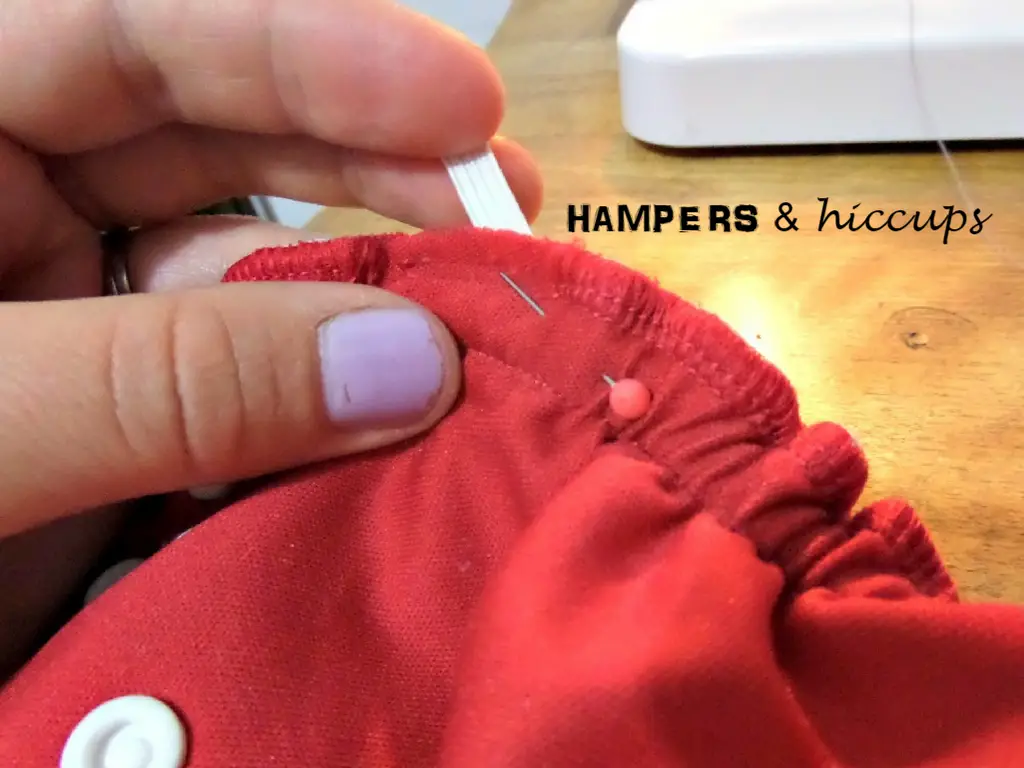
Step 3 – Secure the Ends
When the non-safety pinned end (the tail) gets close to being engulfed, you'll want to sew it in place so it doesn't get lost in the channel. This would require you to pull the whole thing out and start over. I'm sure it'll happen to you at least once as you learn to replace diaper elastics.
Sew a basic little straight stitch on the end, being sure to back-stitch and re-stitch a million few times to ensure great strength. I've had a few let go on me over time from not securing them properly.
You could also do a zig-zag stitch if you wanted to and have the technology.
![]()
Note: the above picture is showing (grey thread) how to sew the tail in if you are doing option 2. It's the same deal for the regular procedure, but your elastic will be through the channel, not hanging out.
Continue to pull the safety pin through the channel. Once you get it through the other gap, adjust the gather to your desired “bunchiness”. You may need to cut off some excess elastic. Pin in place a little way down the channel to hold while you repeat the little stitch on the other end.
Option 2
Once you've pinned your elastic all along, you can secure the ends using the same method as outlined above.
Repeat on All Sides
Replace diaper elastics on all the sides that need fixing (usually all 4) using steps 1-3. Your gaps will still be open at this point.
Step 4 – Close It Up
You're ready to close up your diaper! Take to your serger and run a quick line on each gap you created to replace diaper elastics.
![]()
You'll see that I used white thread on a red diaper. I did this because I hate changing serger thread I wanted to show contrast for easier viewing.
Because I didn't match the thread, I decided to do a seam all the way around. I quickly found, however, that my serger doesn't accommodate the snaps on the back wings of the diaper. Since I didn't have gaps here, it isn't a big deal to me.
![]()
Clean up your threads, et voila! You have successfully replaced the elastics on a diaper that could have been destined for the dump. And you didn't have to pay someone to do it!
This content was created by original creator of this website, Katelynn Hegedus.
Have you fixed diapers in the past? Did this post motivate you to get at that pile of diapers that need fixing? Are you more eager to buy used diapers now? Let me know!